<!-- jQuery -->
<script src="https://ajax.googleapis.com/ajax/libs/jquery/1/jquery.min.js"></script>
<script>window.jQuery || document.write('<script src="/templates/YOUR_TEMPLATE/flexslider/js/libs/jquery-1.7.min.js">\x3C/script>')</script>
<!-- FlexSlider -->
<script defer src="/templates/YOUR_TEMPLATE/flexslider/jquery.flexslider.js"></script>
<script>
$(window).load(function() {
$('.flexslider').flexslider({
animation: "slide",
start: function(slider){
$('body').removeClass('loading');
}
});
});
</script>
Note: This code is available in the attachments section, I wouldn't try to copy & paste it from your browser.
=============
2. Add the “add-to-your.css” file’s contents into your site’s template file. Or, the k2.css template override, since you probably have that loaded into your template, too.
=============
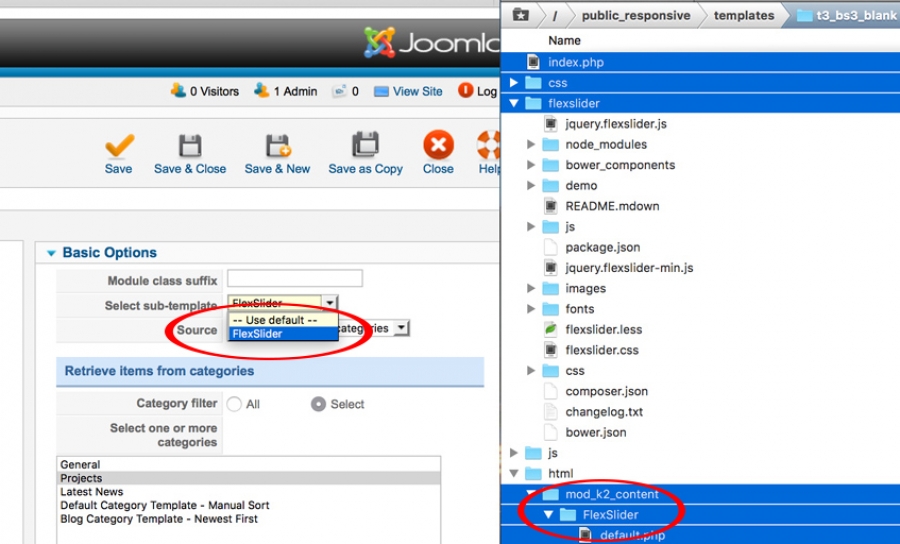
3. Add the “FlexSlider” folder contained inside the mod_k2_content folder into your template’s mod_k2_content override folder. You probably already have a folder in there called “Default” - eg:
/templates/YOUR_TEMPLATE/html/mod_k2_content/FlexSlider
Note: The location of this folder in your site's directory structure is extremely important (to Joomla).
=============
4. Add the “flexslider” folder to the top-level of your template, eg:
/templates/YOUR_TEMPLATE/flexslider
Note: The location of this folder in your site's directory doesn't matter (to Joomla).
This is what my template's folder structure looks like after installing:

=============
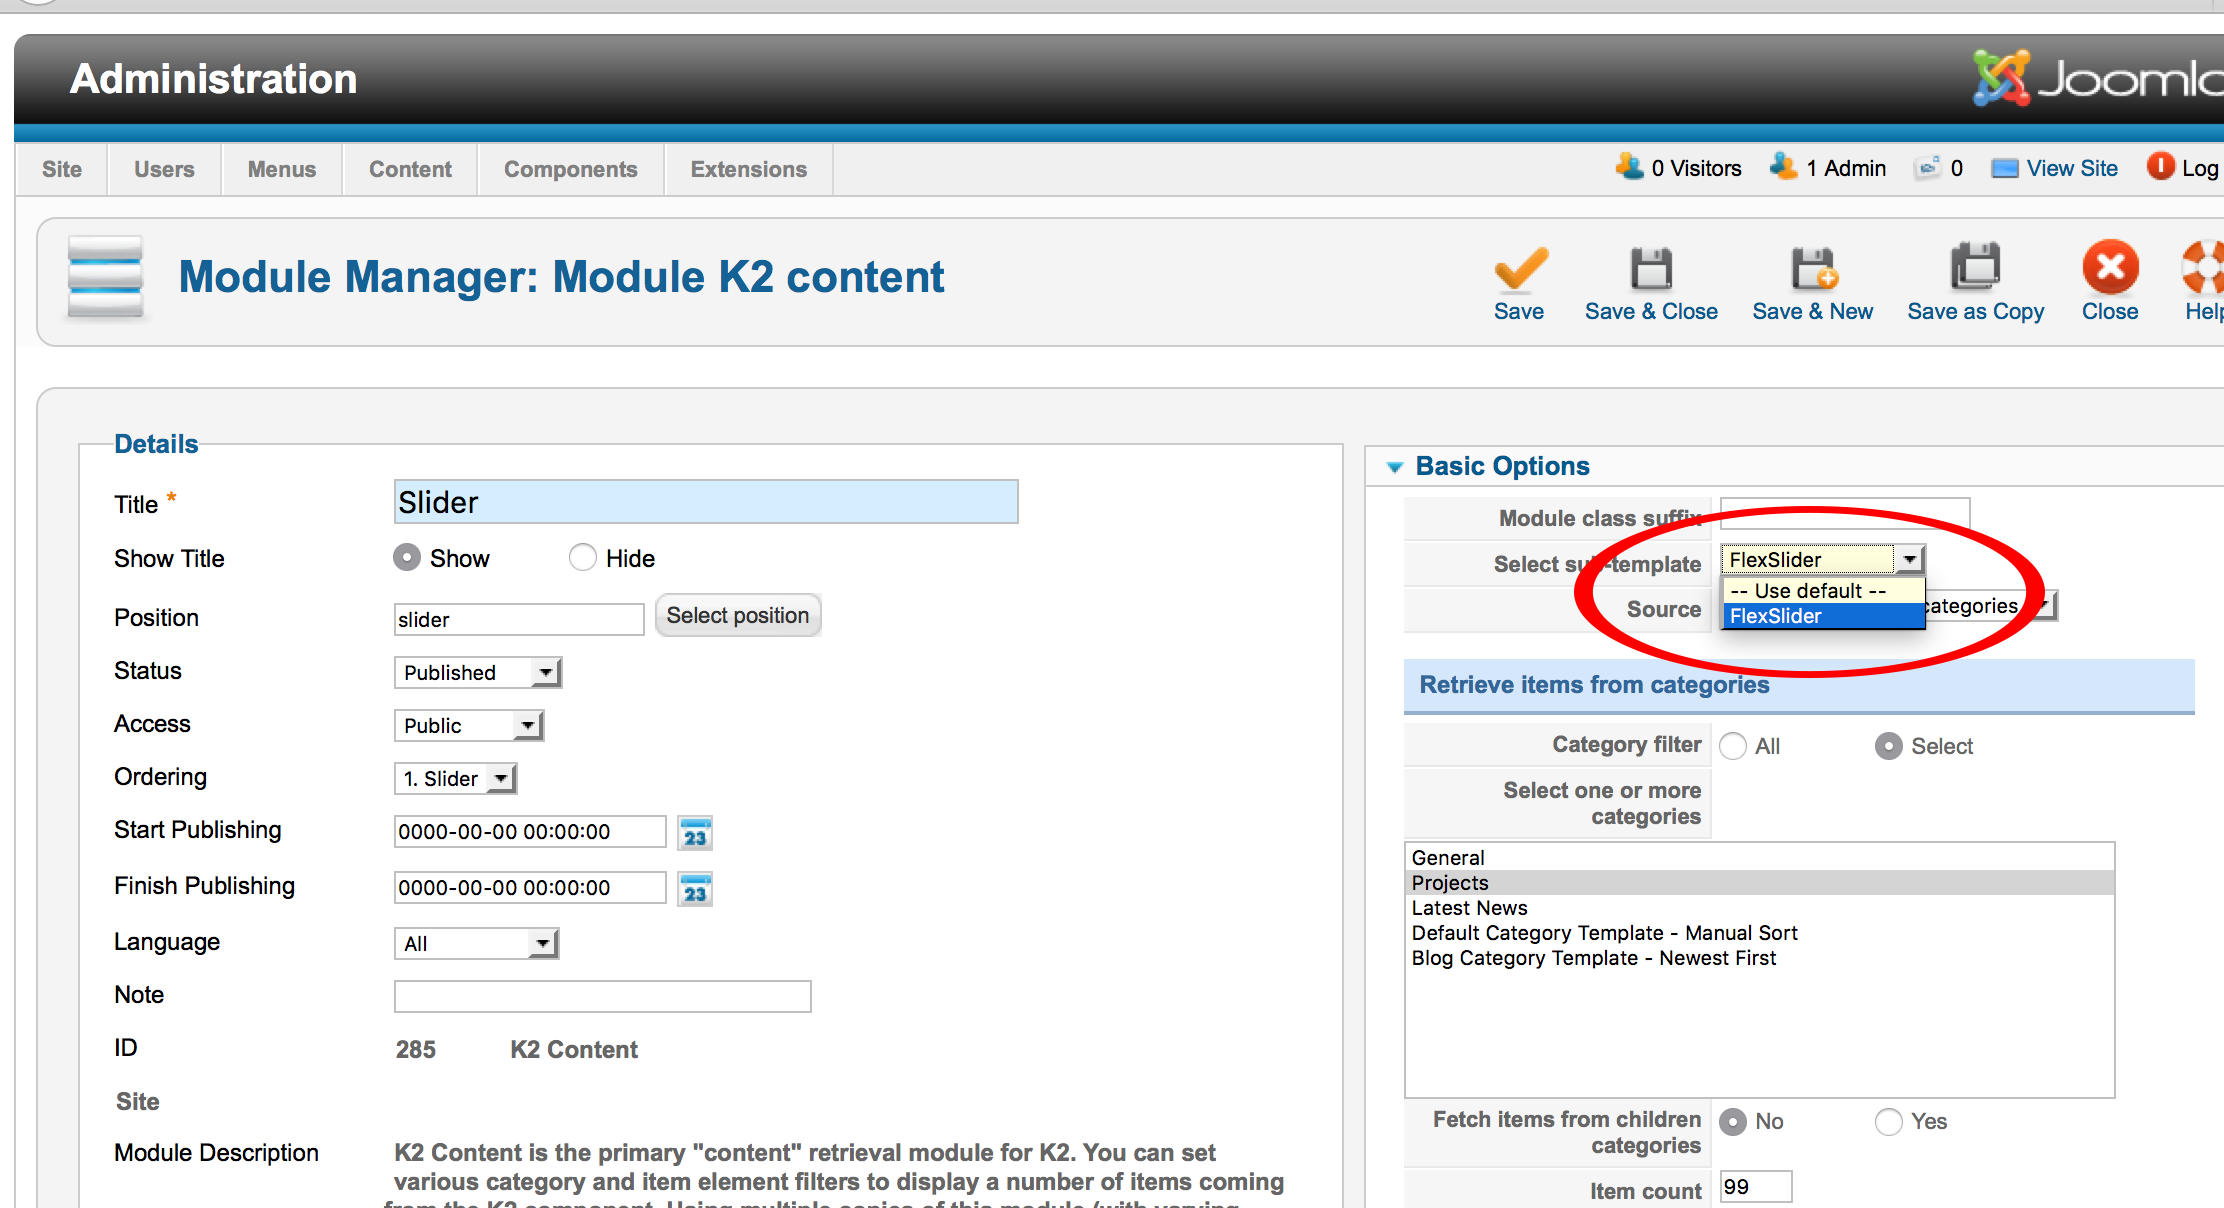
5. Create your new K2 content module and choose the “FlexSlider” sub-template.

=============
6. Enjoy!

